Migrating to a Dream Machine Pro from USG and UCK G2 Plus
5 min read
I dipped my toes in the world of Ubiquiti a few years ago for two main reasons. I had been using Orbi mesh and did not get great performance in our brick house with a lot of interior walls. I had also been gifted a Ring doorbell and immediately saw that was going to be a problem with privacy. A few colleauges had talked very highly of Ubiquiti so I decided to return the Ring doorbell and test some equipment to get started. I started with the Unifi Security Gateway (USG) and Cloud Key Gen 2 Plus (UCK G2 Plus) along with access points, switch and the G4 doorbell pro. For the most part our network was a lot better than the Orbi we had been using. The doorbell had it’s issues, mainly due to my ignorance, but having our video local was a big deal for me and the latency we saw was no different than the short test I had done with Ring.
Fast forward a few years and we have relocated to a house that has Google Fiber available. The USG is only capable of up to 1gb speeds. For scalability I decided to upgrade to the Dream Machine Pro (UDM Pro). I should have just purchased that initially but mistakes are the best teachers. Another advantage to the UDM Pro is I can get more features out of wifiman and the internal hard drive for Protect is easier to get to if I want to swap it out. I had already upgraded from the UAP-AC-Pro access point to a U6-LR (long range).
My Upgrade Path
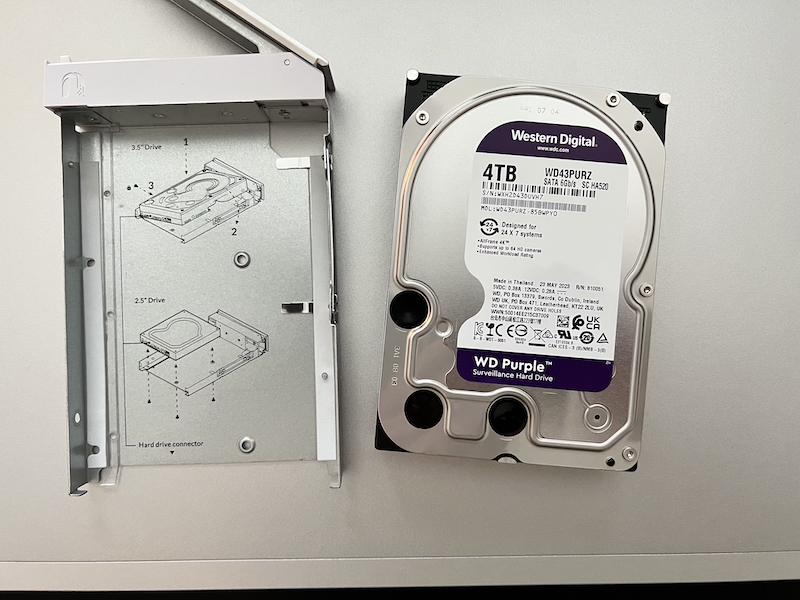
With the Dream Machine in hand I added a 4TB Western Digital Purple. The Dream Machine does not come with a hard drive for video storage for Protect. Purple is better for surveillance. Red is better for NAS. I have the doorbell and a couple of cameras so 4TB should be good for 30 days of video - unless the deer continue to trigger the cameras.
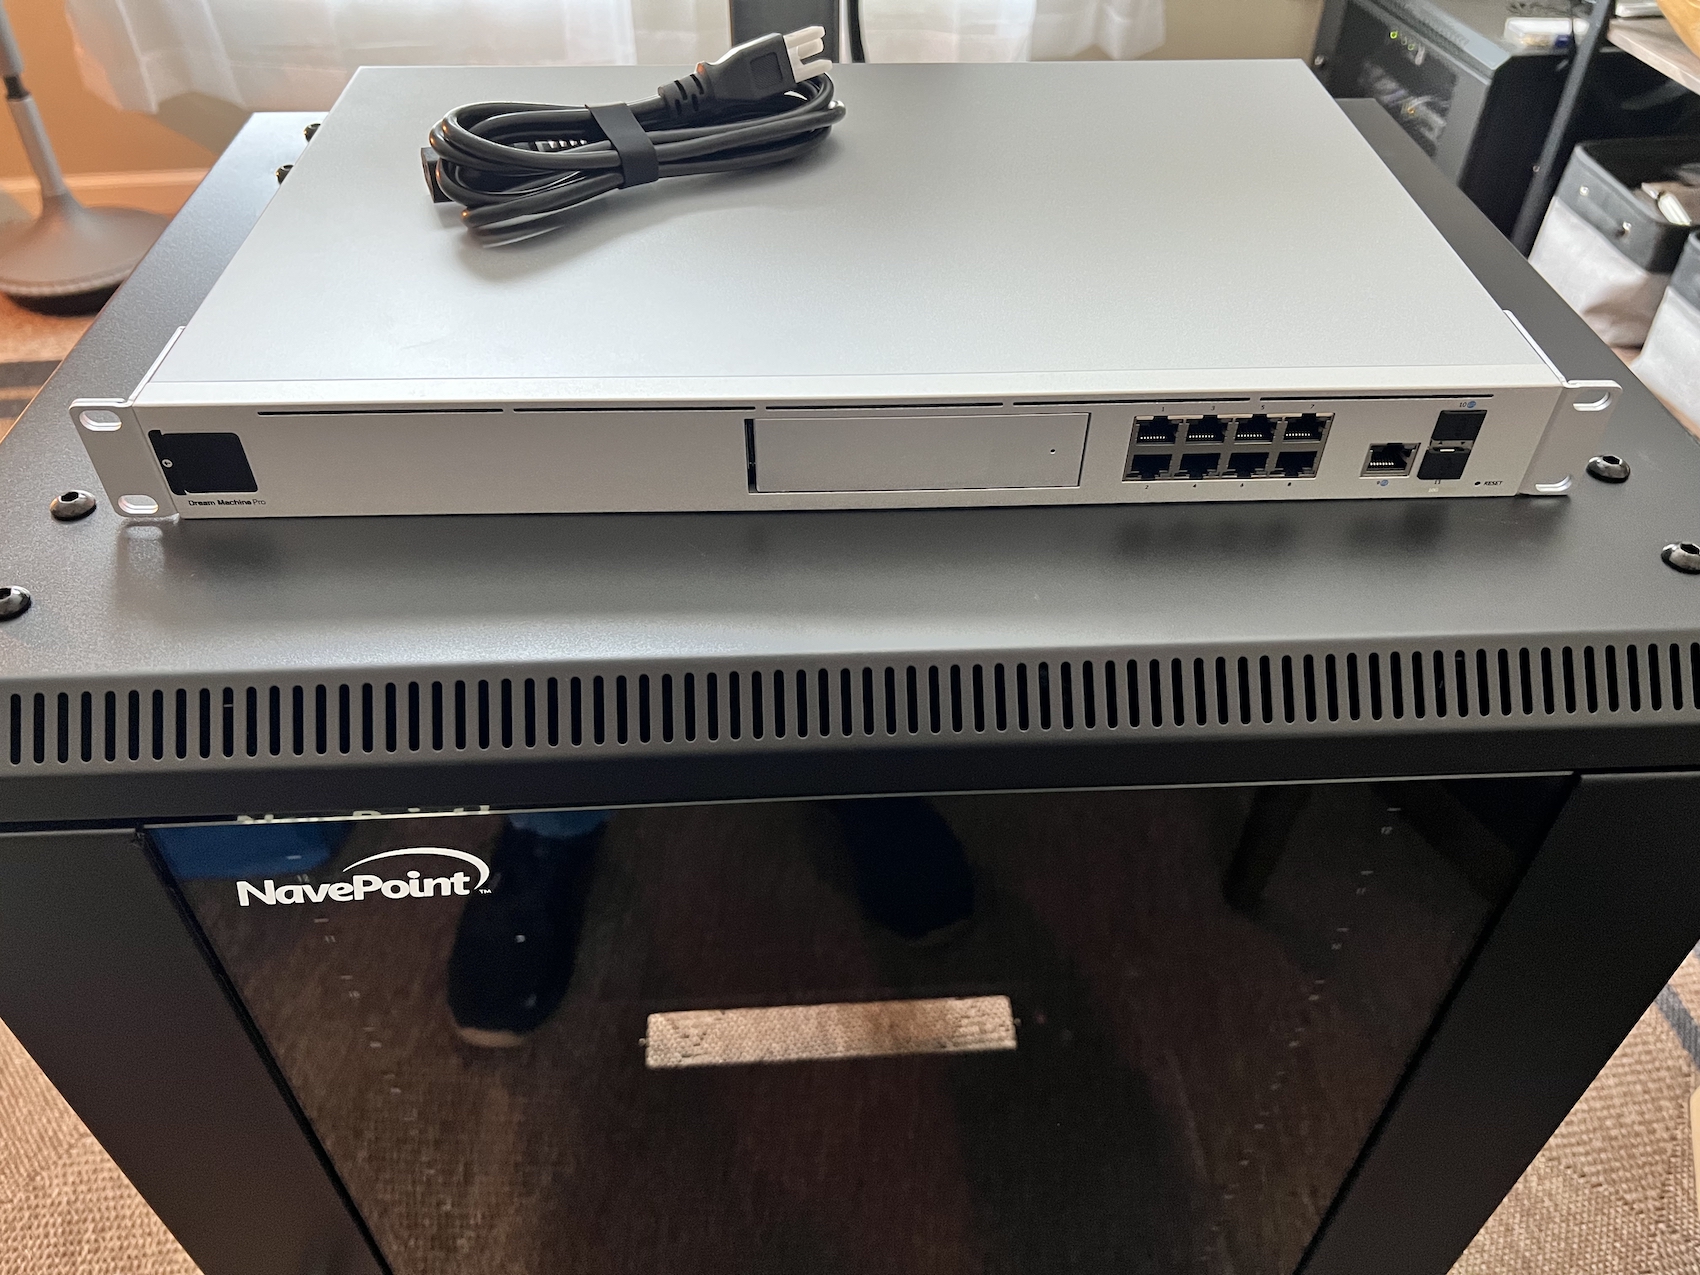
I have had my eqiupment in a 6U rack and it was pretty maxed out so I decided to upgrade to a NavePoint 15U Rack which should give me room to grow my home lab for a while. I went with Rack Studs this time after hearing raving reviews. I was skeptical but I must say these things are excellent!
The Process
Quick Migration List
- Install the hard drive
- Power up and adopt the Dream Machine on the existing network using iOS app
- Install all updates
- Get backup file from the old controller
- Replace the USG and UCK with the Dream Machine
- Restore from backup file
The Long Notes
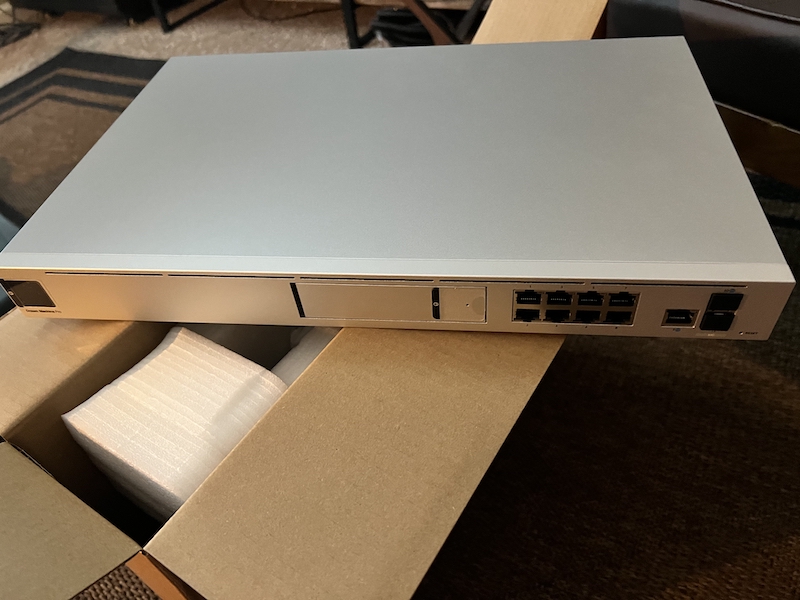
Before provisioning the Dream Machine I installed the hard drive in the bay. It snaps in and only uses one screw. When you power up the UDM Pro it will go ahead and format the hard drive.
To provision it I ran ethernet from one of the ports on my switch downstream from the USG to the WAN port on the UDM Pro and hard wired my Mac to one of the 8 ports on the UDM Pro. Do this to be able to access the controller directly and perform updates after the adoption process.
You have to perform the adoption process on the iOS app while connected to the old controller so the UDM Pro is added to your account. I powered up the Dream Machine and used the iPhone app to complete the adoption. From there I was able to access the controller from my Mac. The IP address for it was 192.168.0.1 where the USG subnet is 192.168.1.x.
I pulled a backup from my cloud key by going to System > Settings > Backups. The backup file’s name will tell you the version which in my case was 7.4.162. The Dream Machine came with version 7.1.x. It’s important that the UDM Pro is at least the same version as the backup or you will not be able restore so I spent about an hour doing subsequent updates on the UDM to get to that safe point.
Once the udpates were done I powered down everything in my old rack, set aside the USG and USCK, moved everything else to the 15U and connected the AP and switch to the Dream Machine. After powering up everything the Dream Machine was still using the IP of 192.168.0.1 from earlier so I rebooted it from the front touch display and it changed it’s IP to 192.168.1.x.
With my Mac connected to one of the UDM ports, I pulled the backup and restored it on the UDM through System > Settings > Backups. The restore was quick and after it rebooted I was able to access the UDM Pro from wifi and iPhone app because my access points and switch showed up as it was configured on the USG.
Doing speed tests around the house proved everything was working properly. With the Dream Machine I can now take full advantage of WifiMan and it gives me some nice utilities to help debug our network and the reach of the AP.
What Went Wrong
My G4 Doorbell was MIA once I had everything working. I realized the Protect had a backup also that I did not pull. I can’t say that that would have helped since I did not try it but since we are in a new house and I haven’t deployed my other cameras yet it was easy enough to reset the G4 Doorbell and readopt it.
Next Steps
Now that we live in an area where Duke Energy is unreliable a lot, I picked up a Cyberpower UPS and need to get that setup. I also got some LED strip lights for inside the rack that I want to automate the color based on the network status.
Hopefully this post helps someone else wanting to do this same upgrade for their Network.